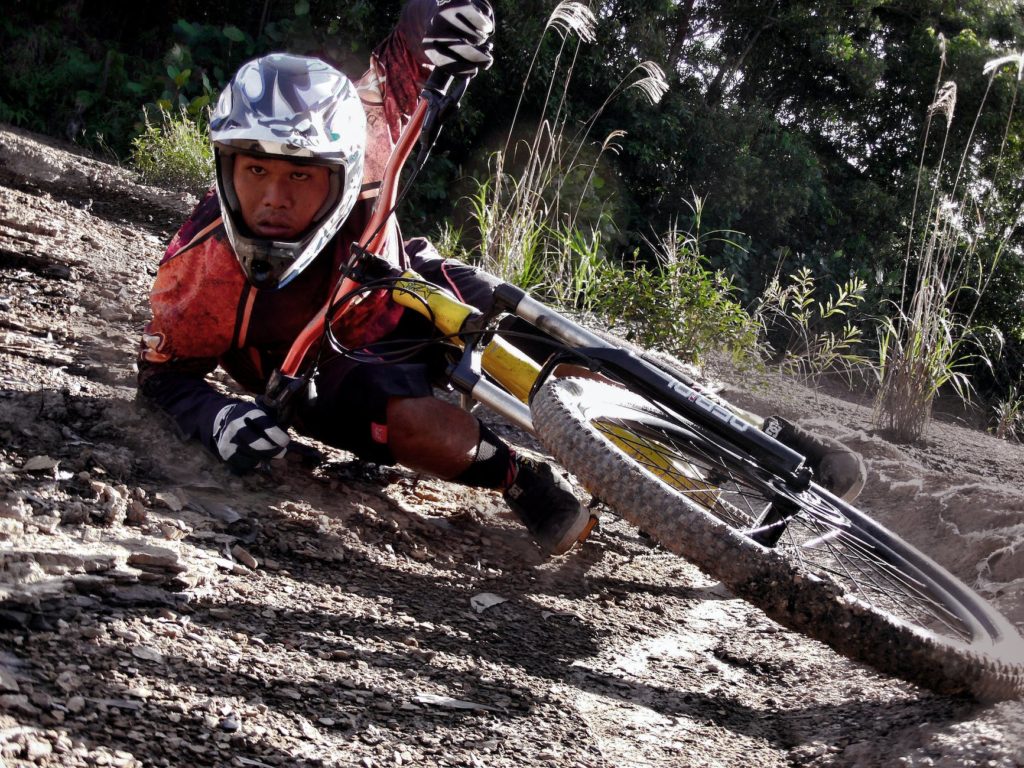
Along with giving you a better selection and expert advice, bike shop personnel can help you get fitted to the right size bike. You can get the bike either too big or too small, which will cause your enjoyment to suffer. Follow the tips below, and you’ll have the perfect fit for your mountain bike.
Standover height
When you check the fitting yourself, the first thing you want to check is the inseam clearance or the standover height. You want to have plenty of room between yourself and the top tube when you come to a stop. There should be around four to six inches of clearance from the top of your inseam to the top of the top tube.
Leg and feet position
There’s a nifty formula for determining the leg position for riding a mountain bike. When riding a mountain bike, the terrain constantly changes, raising you off the seat constantly, sometimes just slightly, other times completely off.
Therefore, you’ll need to set your saddle slightly lower than you would on any other type of bike. Be sure you take this slightly lower seat height position into effect when you factor in the size of the frame.
Riding compartment
The next thing you’ll want to check is the rider compartment layout (the distance between the saddle and the handlebars). Once the proper leg extension has been determined, be sure the handlebar is one to two inches below the height of the saddle. You should never have the handlebars higher than the seat unless there is some type of upper body problem.
Dual suspension bikes
With suspension being at both ends, you’ll want your weight more in the middle of the bike so that your weight is distributed evenly between the front and rear suspension units, thus allowing the front and rear suspension to work as a unit.
This can be done quite easily by using either a higher or shorter stem to raise the hand height, which will, in turn, move the upper body up and the weight towards the rear. The increase in rising shouldn’t be any more than two inches, then the decrease in reach shouldn’t be any more than two inches.
Test ride
Once you have taken all of these steps into account, go out and test-drive the bike. Make sure you wear a helmet, even if you are going to be testing for a brief period of time. Be sure that the tires are set to the right pressure, and that the shop has adjusted the bike for you properly.
You should have a shop employee observe your body position and ride height while riding, to determine if any further adjustments need to be made. Ride the bike around for a bit to get used to its handling and new equipment. Start slowly, then give the bike a bit of time to present its personality.
After a few minutes, you might notice that something isn’t working correctly or just doesn’t feel right in general. If this happens, go back to the shop and have the problem corrected before you rule out the bike.
The more you ride bikes, the easier it will be to tell the difference in the ride types. Keep in mind, it may take months and even years to appreciate the way a bike handles. Talk to those who ride, and ask them if they ride the bikes they sell. This way, you’ll learn more about the mountain bikes you love so much!
DISCLAIMER:
This information is not presented by a medical practitioner and is for educational and informational purposes only. The content is not intended to be a substitute for professional medical advice, diagnosis, or treatment. Always seek the advice of your physician or other qualified healthcare providers with any questions you may have regarding a medical condition. Never disregard professional medical advice or delay seeking it because of something you have read.
Since natural and/or dietary supplements are not FDA-approved they must be accompanied by a two-part disclaimer on the product label: that the statement has not been evaluated by FDA and that the product is not intended to “diagnose, treat, cure or prevent any disease.”


